
Source: Pexels
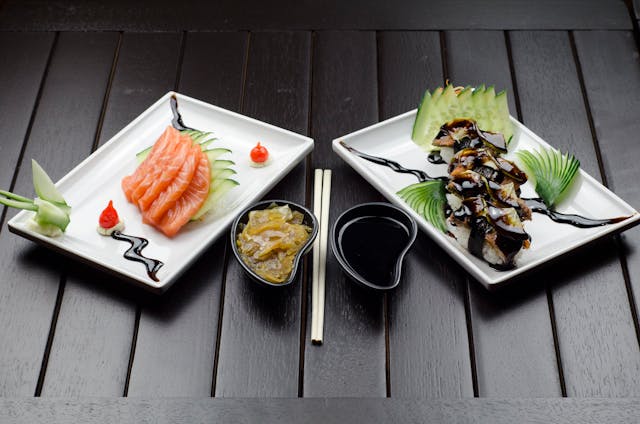
Understanding the Basics of Food Photography
Diving into food photography can be as exciting as exploring a new cuisine. Here are some foundational tips to help you capture stunning food images:
Lighting is Key:
Natural light is your first friend. It highlights the textures and colors of the food, making it more appealing. Try to shoot near a window during daylight, but avoid direct sunlight, which can cause shadows.
Composition Matters:
How you arrange your food on the plate can make a huge difference. Use the rule of thirds to place your main elements and keep the background simple to avoid distractions.
Styling Your Shot:
Little details count. A sprinkle of herbs or a drizzle of sauce can add that final touch to make your food pop. Also, consider the color palette of your background and props to complement the dish, enhancing its appeal.
Stay tuned as we explore using Adobe Express to resize and refine your food photographs, making them not only tasty but also thumb-stopping visuals!
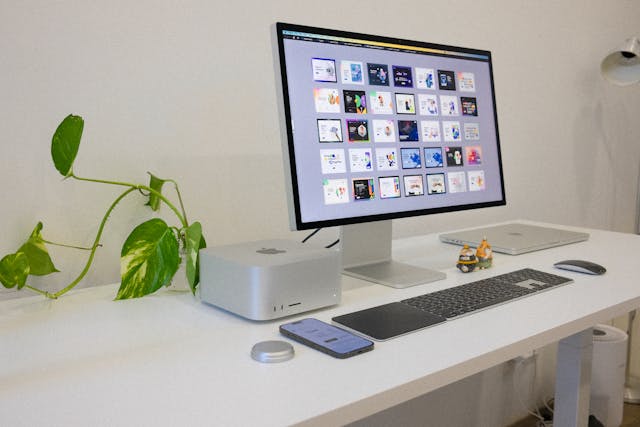
Introduction to Adobe Express
Source: Pexels
Adobe Express is a streamlined, user-friendly tool designed to elevate your digital creations, making it ideal for food photographers of all skill levels. Whether you're a blogger, chef, or culinary enthusiast looking to share your creations, Adobe Express offers a suite of features to enhance your images. Its intuitive interface allows for quick resizing, cropping, and editing, ensuring your food photos look professional with minimal effort. The advantages of using Adobe Express include its accessibility, ease of use, and the ability to maintain high-quality images even after extensive edits, which is significant for maintaining the visual appeal of your culinary presentations.
Step-by-Step Guide to Resizing Images with Adobe Express
Step 1: Accessing Adobe Express
Kickstart your editing process by navigating to the Adobe Express website. It's as simple as entering "Adobe Express" into your search engine and clicking on the official link. Once there, you'll find yourself on the gateway to a more polished, professional look for your food photographs.
Step 2: Uploading Your Image
To get started, you'll need to upload your image. Look for the 'Upload' button on the Adobe Express homepage, or drag and drop your food photo into the designated area. This platform supports various file formats, making it convenient to upload images directly from your computer or even from cloud storage.
Step 3: Using the Resize Feature
Once your image is uploaded, find the 'Resize' tool in the toolbar. Adobe Express allows you to customize the dimensions of your image or choose from preset sizes tailored for specific platforms like Instagram, Twitter, or Pinterest. Selecting the right size can make your photo more impactful, fitting perfectly into the feed and catching the viewer's eye.
To learn more about resizing your images effectively, how to resize an image with Adobe Express can provide you with additional insights and guidance."
Step 4: Applying Edits and Enhancements
After resizing, it's time to make your food look as tempting as possible. Adobe Express provides a range of editing tools, from adjusting brightness and contrast to applying filters that enhance colors and textures. Play around with these features to make your dishes look even more delicious, ensuring they stand out in any digital space.
Step 5: Saving and Downloading the Resized Image
The last step is to save and download your edited image. Adobe Express provides options to save directly to your device or back to the cloud. Additionally, you can choose the output file's format and quality, ensuring that the final image is optimized for your intended use, be it for a blog post, a menu, or social media sharing.
Now that you're equipped with these steps and tips, your journey into food photography with Adobe Express will surely bring your culinary captures to the forefront of digital dining experiences.
Advanced Tips for Food Photography in Adobe Express
Explore Adobe Express's advanced templates and design features to take your food photography to the next level. Utilizing these ready-made templates can give your images a professional edge with minimal effort. For a more dynamic presentation, consider creating collages. Adobe Express makes it easy to combine multiple images, allowing you to tell a more compelling story about your culinary creations. Experiment with different layouts and design to showcase various dishes or ingredients in a visually engaging image.
Common Mistakes to Avoid
Source: Pexels
Over-editing Images: It is tempting to use all the editing tools at your disposal, but restraint is key. Over-edited images can look unnatural, losing the food's mouthwatering appeal. Aim for enhancements that bring out the best in your photos without overshadowing the dish's natural beauty.
Ignoring the Aspect Ratio: Different social media platforms require different aspect ratios. Ignoring these can lead to important parts of your image being cropped out unexpectedly. Always keep the intended platform in mind when editing.
Poor File Management and Resolution Issues: Managing your files efficiently and understanding resolution are crucial for maintaining the quality of your images across all devices and platforms. Avoid common pitfalls like using the wrong file format or resizing an image too many times, which can degrade image quality significantly.
By keeping these advanced tips and common pitfalls in mind, you can enhance your food photography and avoid mistakes that might detract from the appeal of your culinary captures.
Additional Resources and Tutorials
Numerous online resources are available for those eager to dive deeper into Adobe Express. Check out the Adobe Express website for detailed tutorials and guides that cover everything from essential functions to advanced features.
Additionally, joining the Adobe Express community forums can provide valuable support. Here, you can connect with other users, share experiences, and find solutions to common issues. These resources are invaluable for beginners and seasoned users looking to enhance their food photography skills.
Conclusion
Properly resizing and editing your food images in Adobe Express can dramatically enhance their appeal, making every dish look as delicious digitally as it does on your plate. We've covered the essentials—from using the right tools and features in Adobe Express to avoiding common photography mistakes. Now, it's your turn to experiment and explore the capabilities of Adobe Express. Remember, every image you edit is a step closer to mastering the art of food photography. So, play with those pixels, and watch your culinary creations come to life like never before!


No comments: